Fan mounting a wild turkey is not only beautiful, it's easy to do with just a few household items.
August 13, 20212 min read
Pete Muller
The process is similar to making a cape, though a fan mount has a few added steps to help keep the fan in position once it is dry.
Locate the base of the tail, or Pope’s nose, a triangle-shaped lump of flesh that holds all of the tail feathers plus a few rows of covert feathers.
Cut off the tail just above the anus. You can also remove the legs and beard at this point to preserve them as well.
If your tail is ruffled, muddy or bloody, now is the time to correct it. The tail can be washed in regular dish detergent to remove stains and the feather tracks can be straightened. After washing the fan, dry it with a blow dryer on low heat and smooth out the feathers.
Place the fan in a refrigerator for a few days or freezer until you are ready to proceed.
Lay the tail on cardboard or old newspapers and peel back the skin from the flesh toward the feathers on both sides to expose the knob of flesh and bone that holds all of the tail feather quills.
Remove the fleshy piece in the center using a sharp knife or a pair of wire cutters.
Remove as much flesh and fat as possible from the base of the quills.
Separate each quill with small scissors and trim as much of the fat that you can.
Take a small wire brush and scrape and brush the remaining fat from between the quills and off the skin.
Soak just the base of the quills and skin of the tail for about an hour in Coleman Camp Fuel (white gas) to remove any grease.
Dry then soak for an hour in a mixture of Borax and water. This brine will soak into the skin and preserve it against invasion by mites and other insects.
Dry tail off with paper towels then rub powdered Borax into the skin and around all of the feather quills. Do this on both sides of the tail.
Lay out the feathers on a piece of cardboard and use straight pins to tack them into a fan shape.
Cover and let the dry for two to three weeks in a dry safe place.
Brush off the loose Borax and mix up a small batch of Bondo car body putty.
Spread a ¼-inch layer of Bondo carefully on the exposed quill ends then let it set up for a few days to cure.
Drill a hole through the Bondo to mount your fan to a board with a screw and washer. The Bondo and screw can be hidden with piece of leather or a wooden plaque.
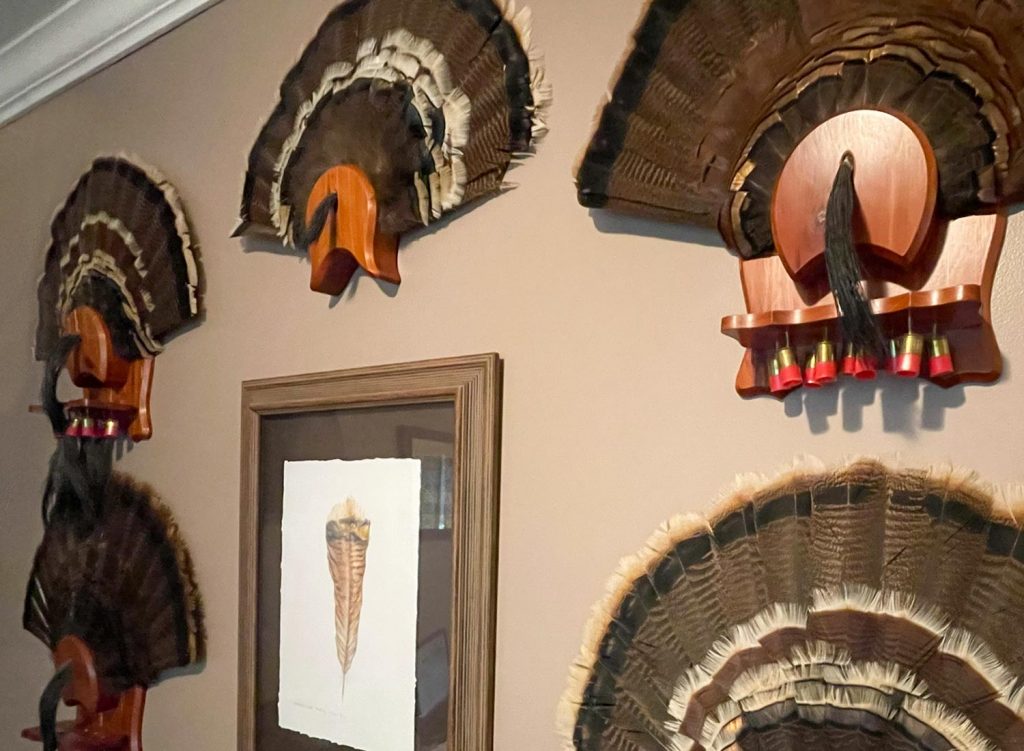
Display your fan on a commercially-available mounting board on your wall or create a shadow box for a more refined look.